
Litespeed Load Balancer Installation and configuration
What is Load Balancer?
A load balancer is a core networking solution used for distributing incoming traffic among servers hosting the same application content. A loadbalancing application requests across multiple servers, and it also prevents any application server from becoming a single point of failure, thus improving overall application availability and responsiveness. For example, when one application server becomes unavailable, the load balancer simply directs all new application requests to other available servers in the pool. Load balancers also improve server utilization and maximize availability. Load balancing is the most straightforward method of scaling out an application server infrastructure. As application demand increases, new servers can be easily added to the resource pool, and the load balancer will immediately begin sending traffic to the new server.
Here we are going to build one 1 LSLB(Litespeed Load Balancer) with 2 Webserver behind the LB.
Installation
Requirments
CentOS or FreeBSD server with Litespeed Load Balancer
CentOS webserver1 with Apache running
CentOS webserver2 with Apache running
Installation Litespeed Load Balancer in CentOS or FreeBSD server
You need root privilege to proceed with installation.
Please stop httpd and dissable http server port 80 before proceeding with installation, because we need to run Litespeed Load Balancer in port 80.
You can download LSLB using the following URL
http://www.litespeedtech.com/packages/lslb/lslb-1.1-i386-freebsd6.tar.gz
#cd /root
#wget http://www.litespeedtech.com/packages/lslb/lslb-1.1-i386-freebsd6.tar.gz
#tar -zxvf lslb-1.1-i386-freebsd6.tar.gz
#cd lslb-1.1[aiderpro]
You need Trail License to proceed with further installation.
http://www.litespeedtech.com/trial/license/
Please upload the given trail license key file to /root/lslb-1.1
Litespeed Load Balancer Installation.
[aiderpro]#./install.sh
Do you agree with above license? Y
Destination [/opt/lslb]: /usr/local/lslb
[OK] Your trial license key will expire in xx days!
Please specify the user name of the administrator.
This is the user name required to log into the web administration console.
User name [admin]: (press ENTER)
[OK] Your trial license key will expire in xx days!
Password: (your admin password)
Retype password: (your admin password)
User [nobody]: (press ENTER)
Group [nobody]: (press ENTER)
HTTP port [8090]: 80
Admin HTTP port [7090]:(press ENTER)
Enable chroot [y/N]: (press ENTER)
Would you like to have LiteSpeed Load Balancer started automatically when the machine restarts [Y/n]? (Press Enter)
Would you like to start it right now [Y/n]? (Press Enter)
[OK] lslbd: pid=21922.
[/code] LiteSpeed Load Balancer started successfully! Have fun!
Install your 2 Webservers in CentOS
Please configure two webserver and host two sample sites. Create two different index pages on two webserver to identify the working of Load Balancer.
Make sure both webservers are working fine.
Configuration of LiteSpeed Load Balancer.
After the successful installation of LSLB you can access the Litespeed Load Balancer using the following URL
http://192.168.1.10:7090
You will get a page like below.
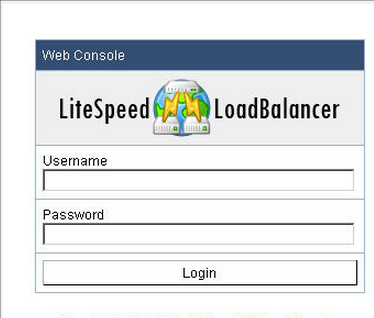
Please login to LSLB using the login details given at the time of LB installation.
First step is to configure Virtual Host.
Click Configuration >> Virtual Hosts
You will get Virtual Host Page
Click Add
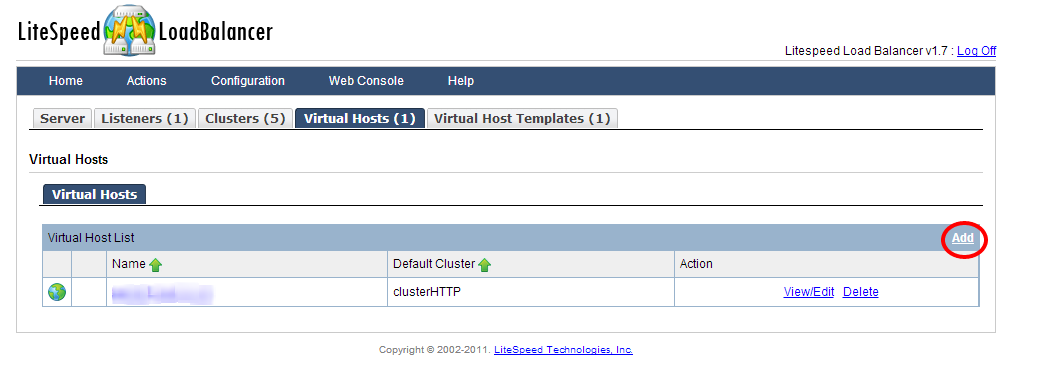
Input your Virtual Host Name : Ex. server.aiderpro.com
Default Cluster : clusterHTTP
Configure File : $SERVER_ROOT/conf/server.aiderpro.com.xml
Click SAVE
You will see a Input error detected. Please resolve the error(s)
Click link “CLICK TO CREATE”
Click SAVE
Click SAVE again to finished
Then We need to Apply Changes, just click the link Apply Changes.
Next step is to configure Cluster
Click on Clusters(5) tabular
Click ClusteHTTP from Cluster List
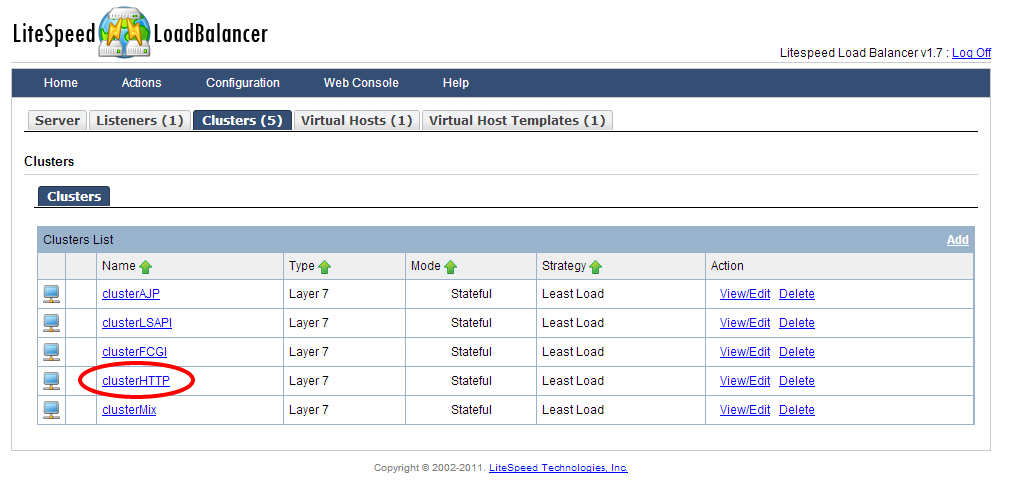
You will see a ClusterHTTP page like picture below
Click on Worker Group tabular
Click on nodeHTTP
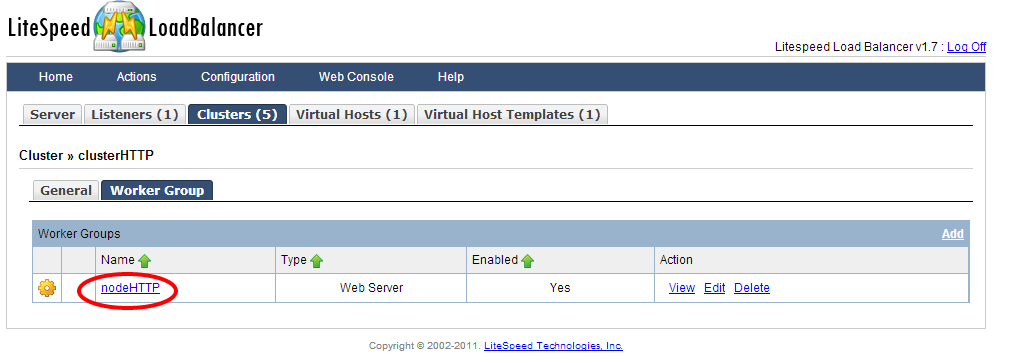
You will get a nodeHTTP page
Click Edit to continue
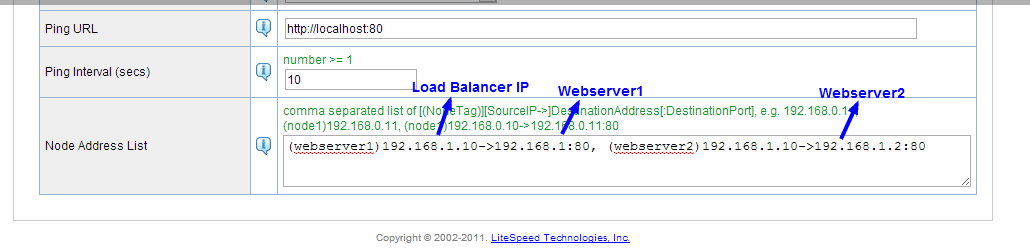
webserver1 = node name
192.168.1.10 = Load Balancer IP
192.168.1.1 = Webserver1
192.168.1.2 = Webserver2
If we try to load aiderpro.com it will automatically hit 192.168.1.10 and Litespeed Load Balancer will automatically detect least load, we can change it to round robin,least load or least session.
Click SAVE
Configure Load Balancer Listener
Click on Listeners(1) tabular
Click View/Edit

click Add to add our virtual host server.aiderpro.com into Listener
Select your Virtual Host : Ex : server.aiderpro.com
Just Read the instructions provided by litespped.
Click Apply Changes
Next, Click Apply Changes / Graceful Restart like picture below.
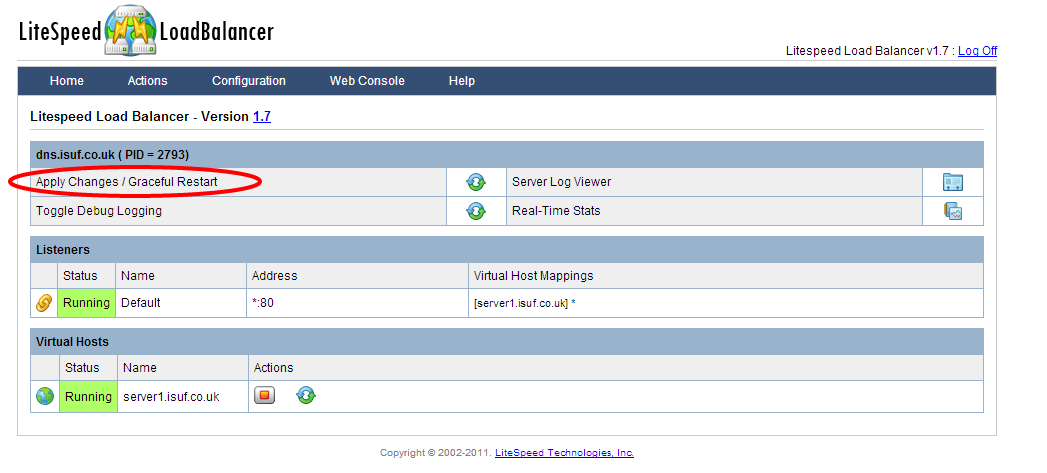
Done!!!!